
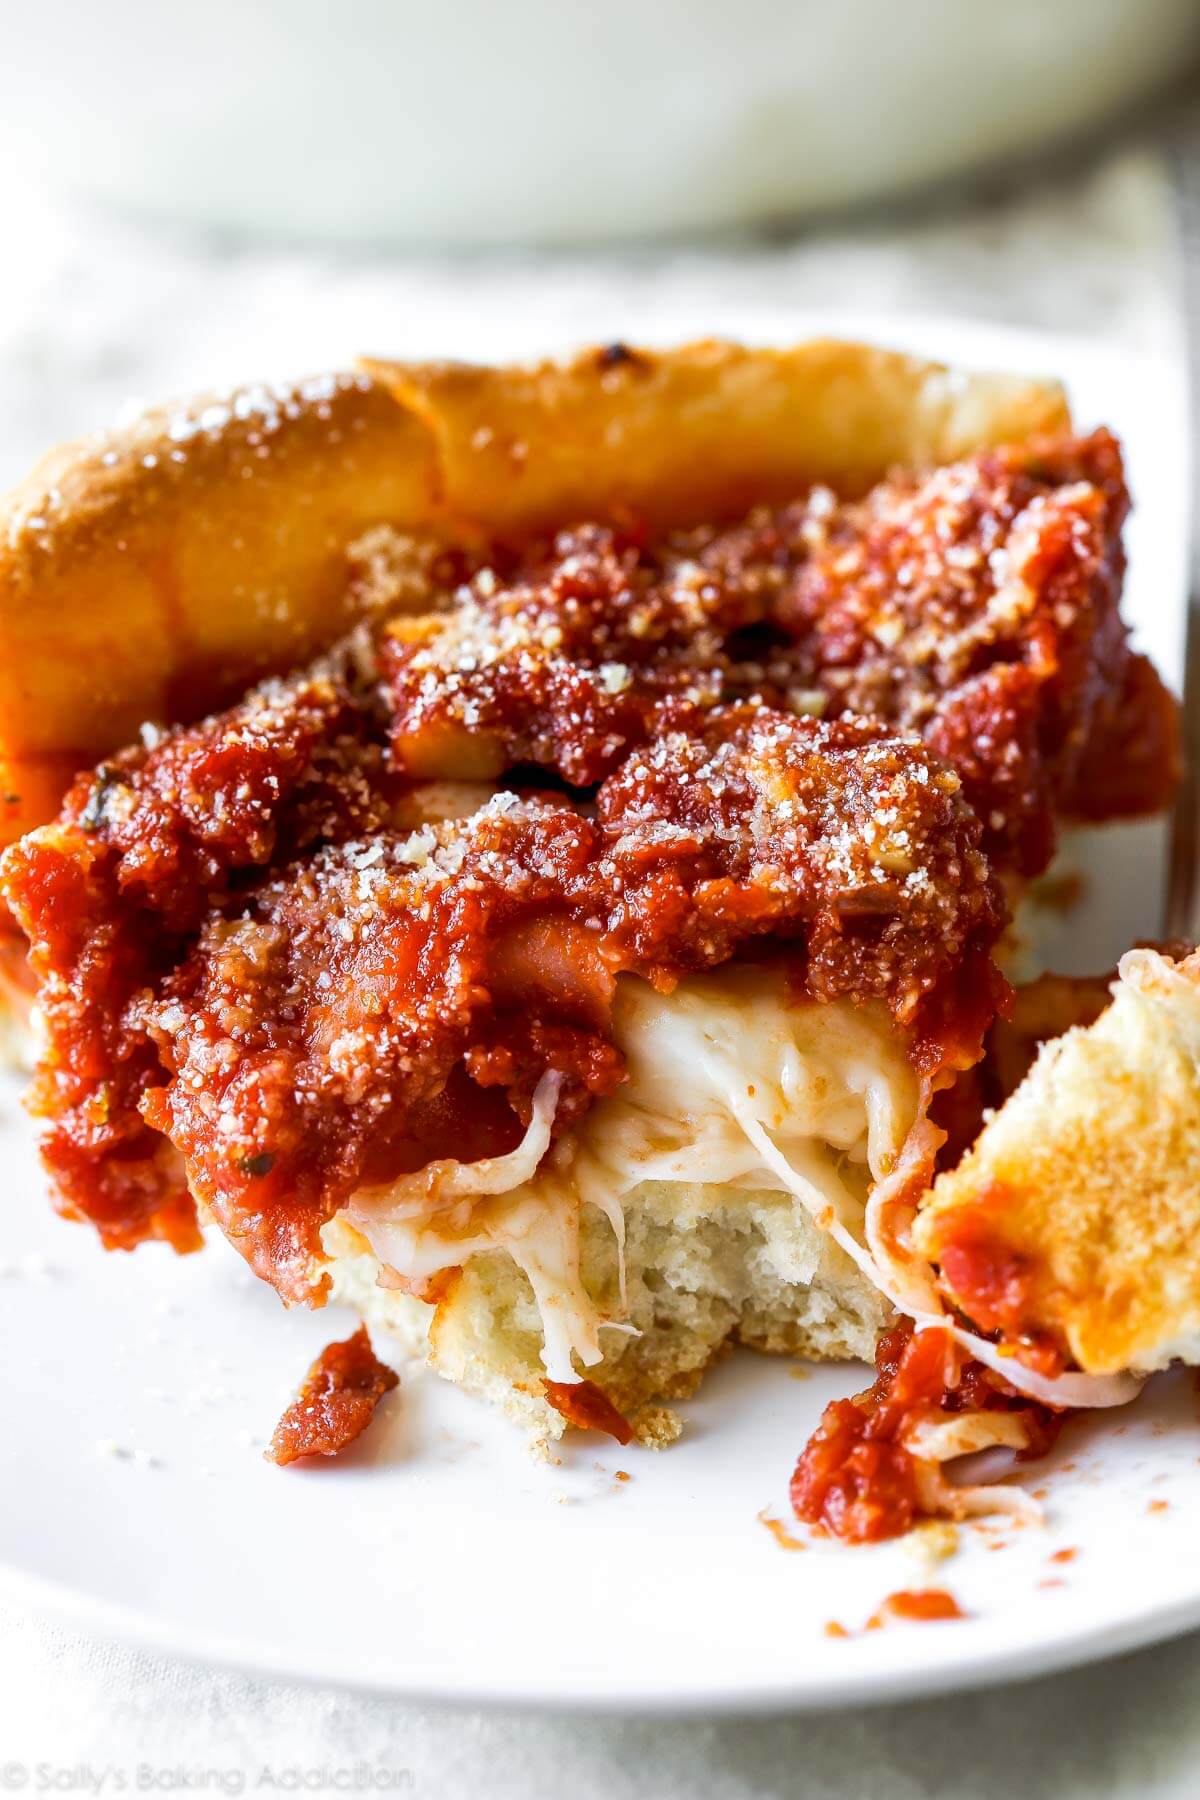
Here’s how to make authentic-tasting Chicago deep dish pizza. Complete with the buttery crust, slightly sweet tomato sauce, and a thick layer of cheese.
I recently looked at my website’s stats and came to find out that Chicago is my most popular city in the US. I have more Chicago readers than any other place in this country. That’s crazy awesome because I love Chicago. As a little tribute to my #1 city, I’m finishing one blow-out year with a Chicago inspired recipe.
I’ve only had the pleasure of having real, authentic Chicago-style pizza a few times. And those few times have been enough to convince me that Chicago-style pizza is incomparably good. Better than good.


