
Pro Tip: Gel food coloring works best as it has a thicker consistency that won’t thin out the dough. It’s also highly concentrated. Start with one drop at a time or even less if you want light pastel colors (use a toothpick to add a small smear of color at a time). You can always add more if you prefer deeper-colored mints.
Shaping the Mints
Once your dough is prepared and colored, the next step is shaping the mints, which is incredibly easy:
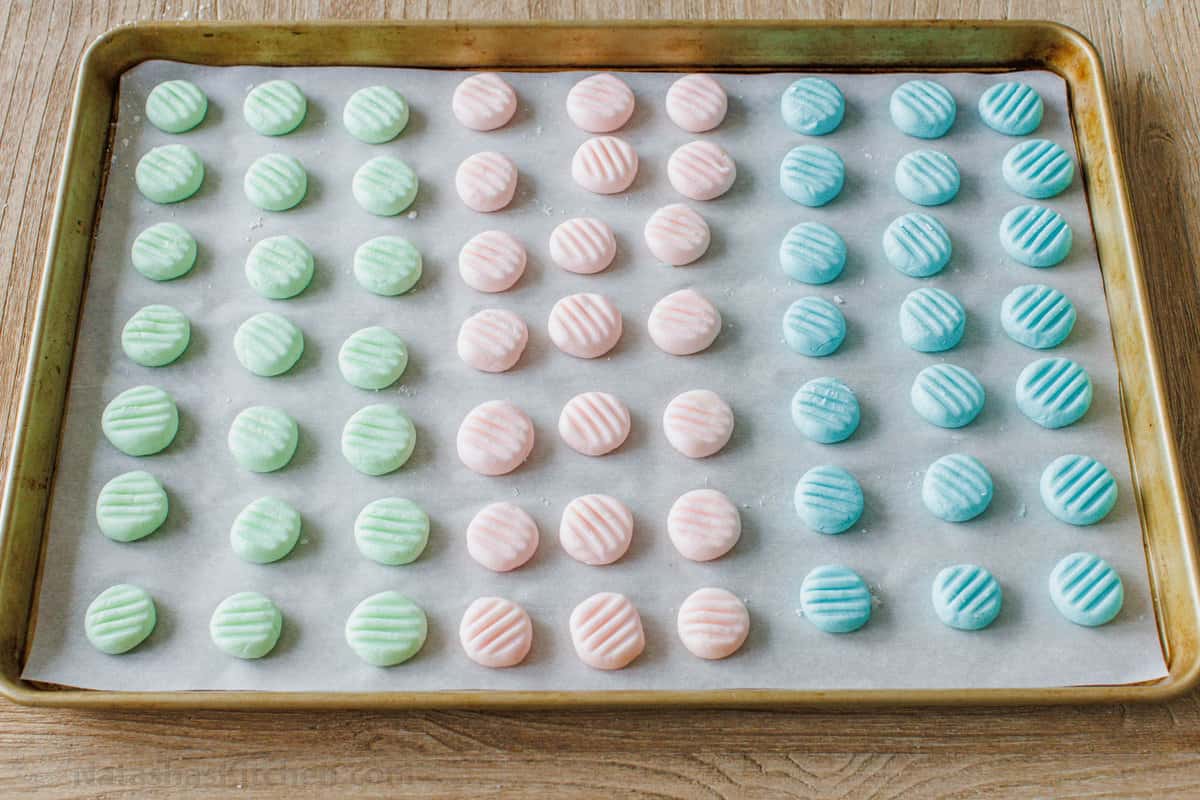
- Roll the Dough – Take a portion of the dough (about 1/4 of it) and roll it into small balls, approximately one teaspoon in size. A small cookie scoop comes in handy for this. Place the balls on a parchment-lined baking sheet, spacing them about 2 inches apart. Work in batches and keep the remaining dough covered to prevent it from drying out.
- Press – Dip a fork into powdered sugar to prevent sticking, and gently press the tops of the rolled mints with the prongs of the fork. This will give them their signature shape. Repeat this process for the remaining dough.
- Dry – Leave the shaped mints to dry uncovered at room temperature for at least 2 hours. Once dry, you can store them in the refrigerator or freeze them for longer storage. Detailed instructions for make-ahead and storage are provided below.
Common Questions
Here are answers to some common questions about making cream cheese mints:
Can I use molds for cream cheese mints?